Connect to RingLink on Windows or macOS
After installing RingLink, you can connect your Windows or macOS device to your RingLink network. This enables secure communication with other devices and access to shared resources.
To connect a device, you need an active RingLink account and an existing network. If you haven’t created an account, refer to the Quick Start Guide.
Step 1: Log in to Your RingLink Account
-
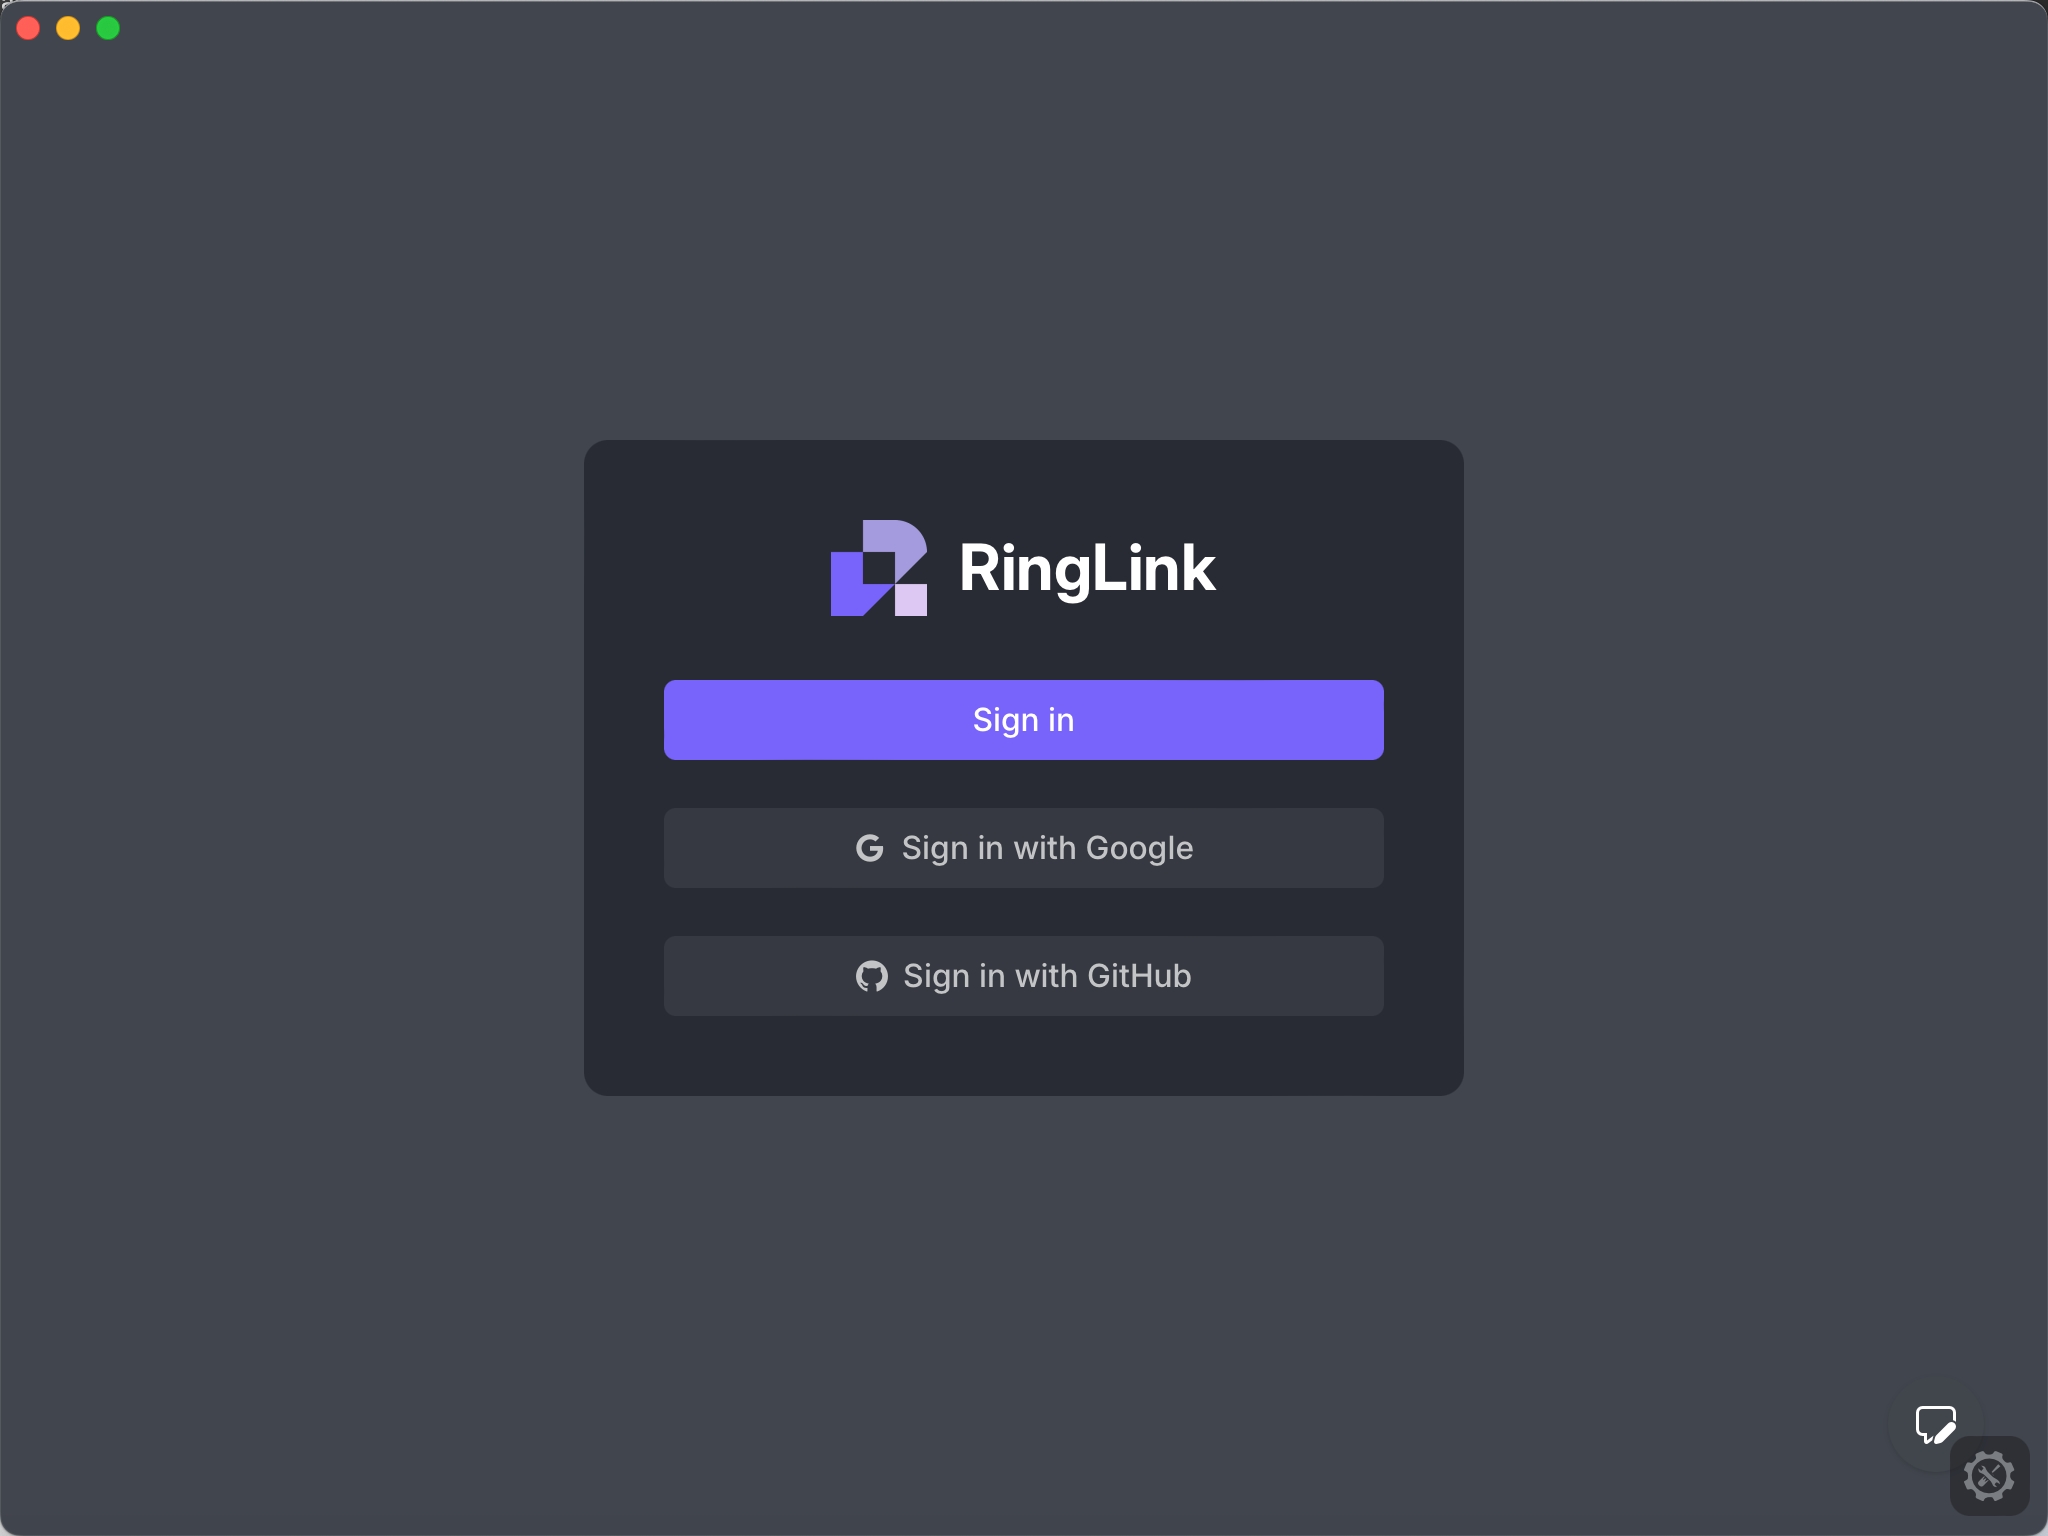
Open the RingLink application on your device.
-
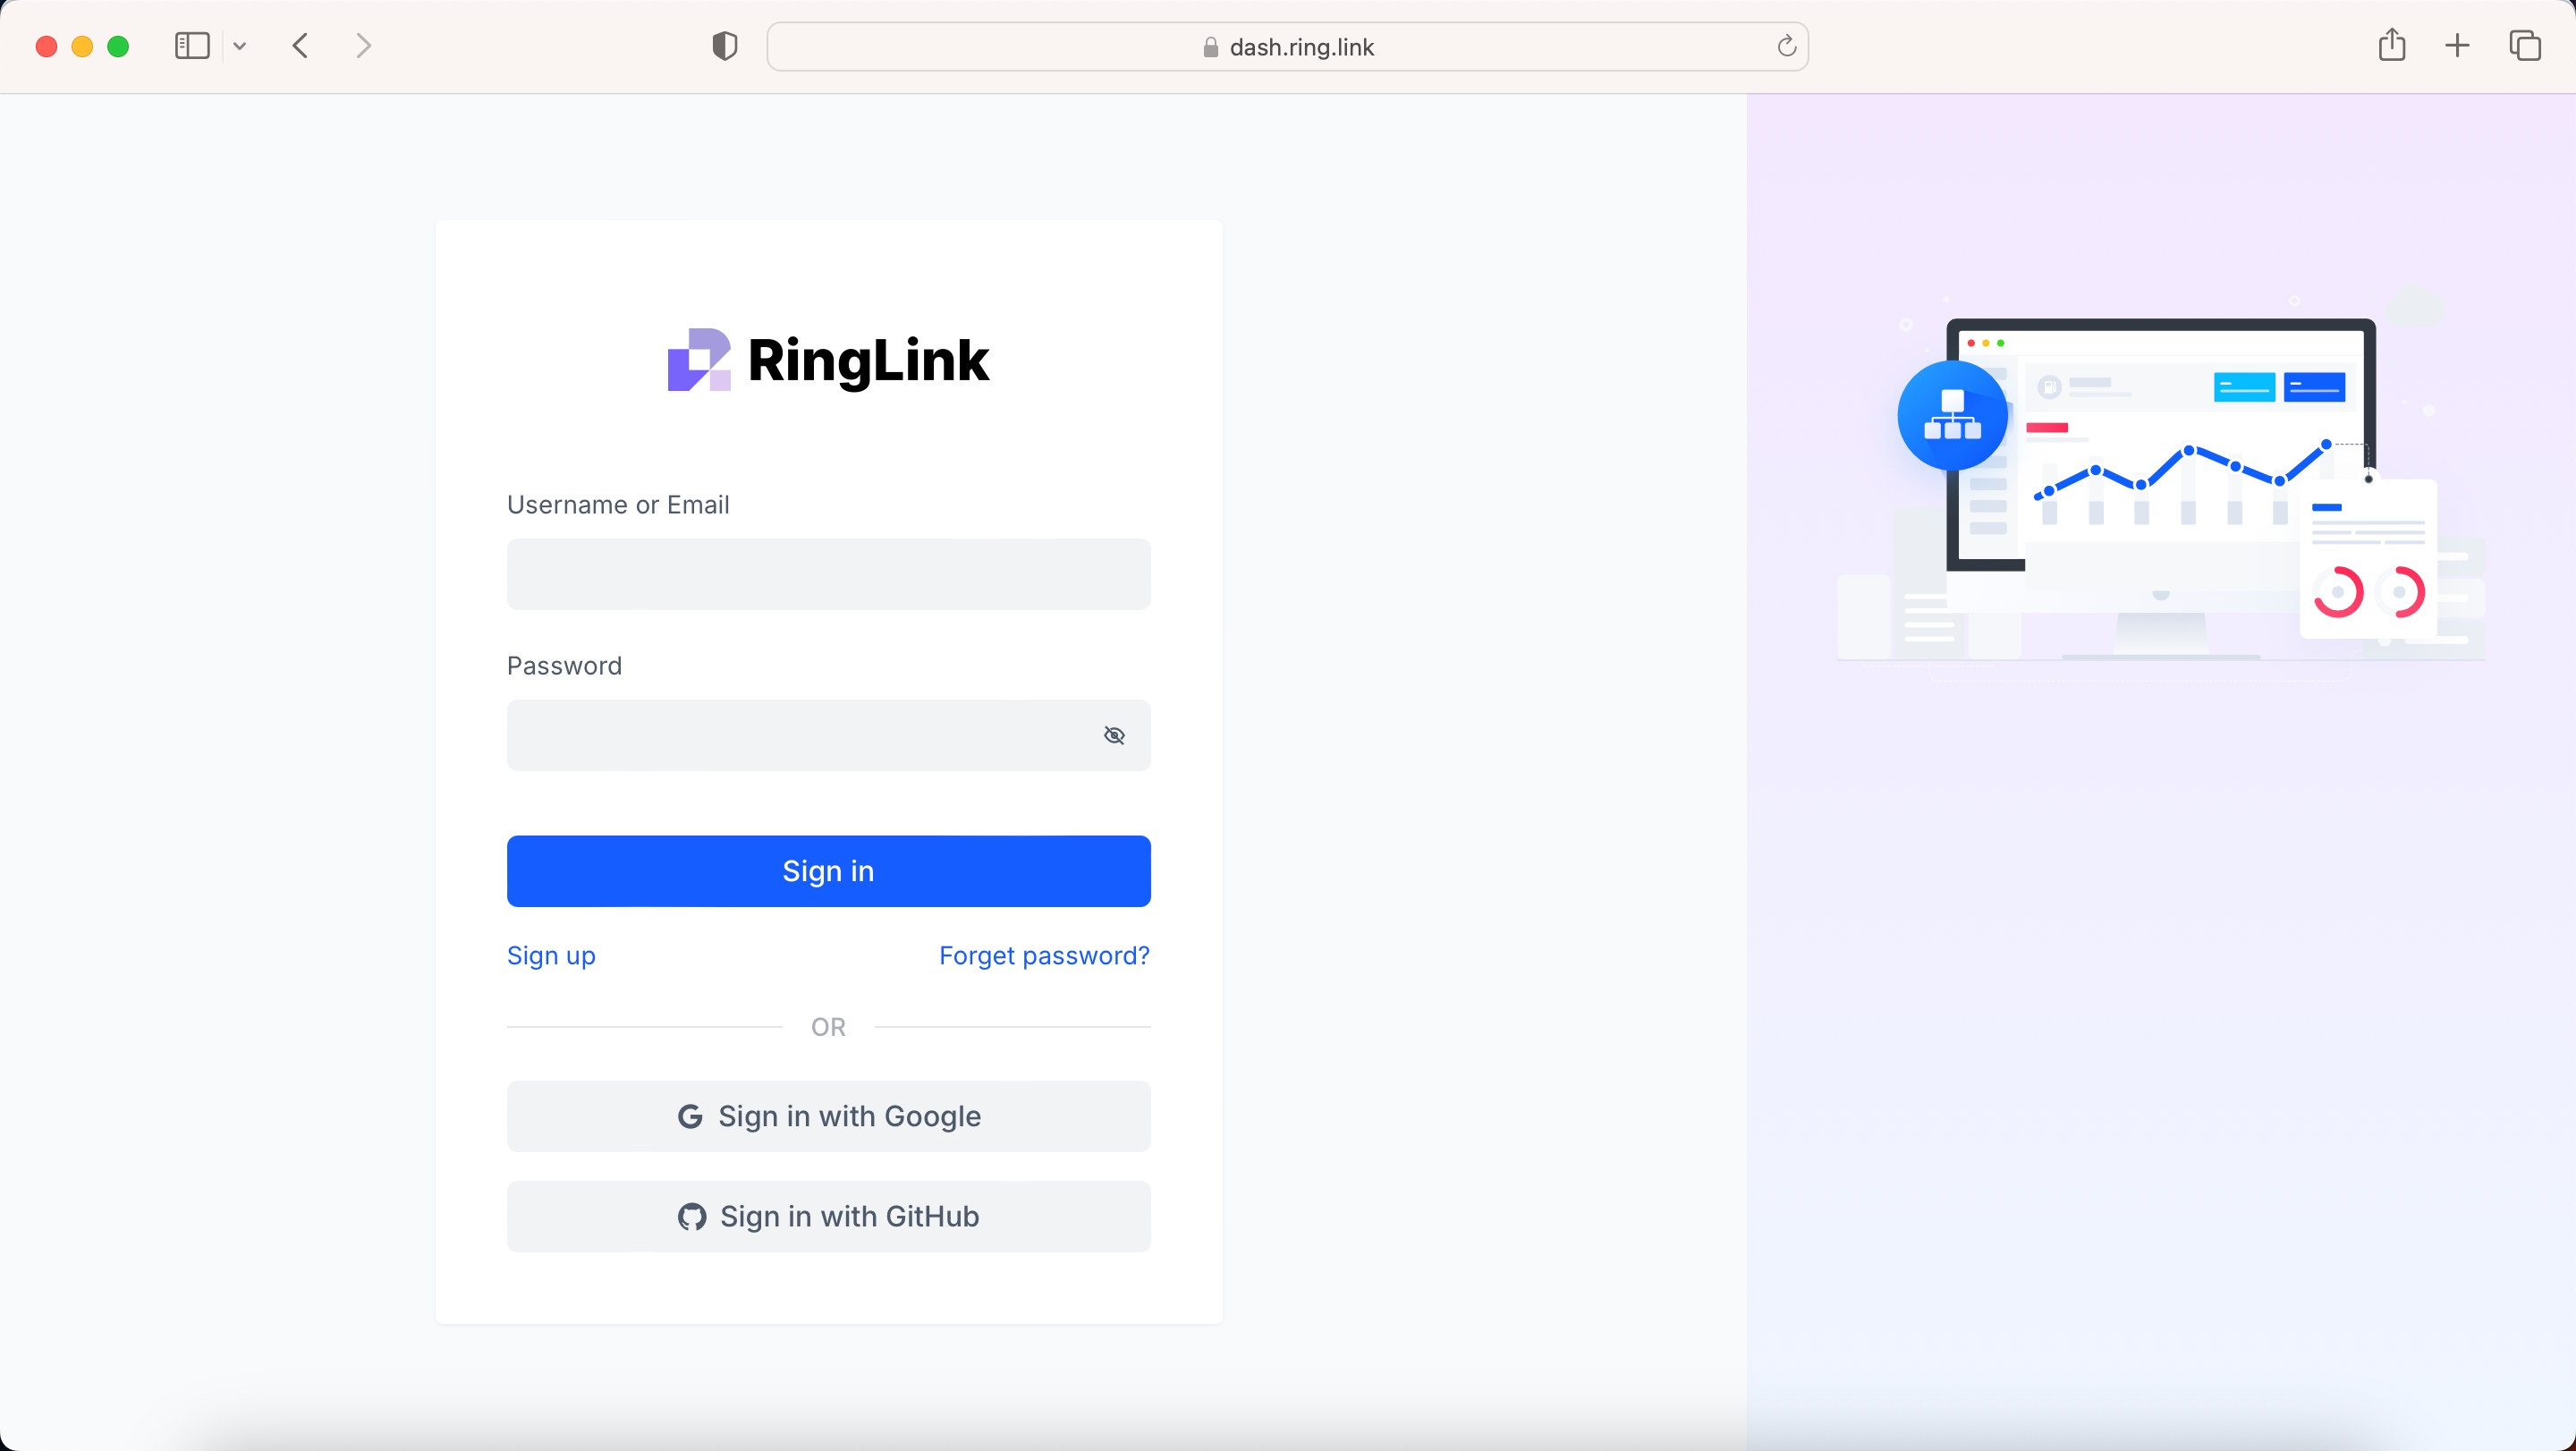
Click the Sign In button. This will open your default browser and redirect you to the RingLink Dashboard.
-
Enter your RingLink account credentials (email and password) on the dashboard login page.
-
Once logged in, the dashboard will automatically redirect you back to the RingLink app.
Step 2: Select a Tenant
After logging in:
-
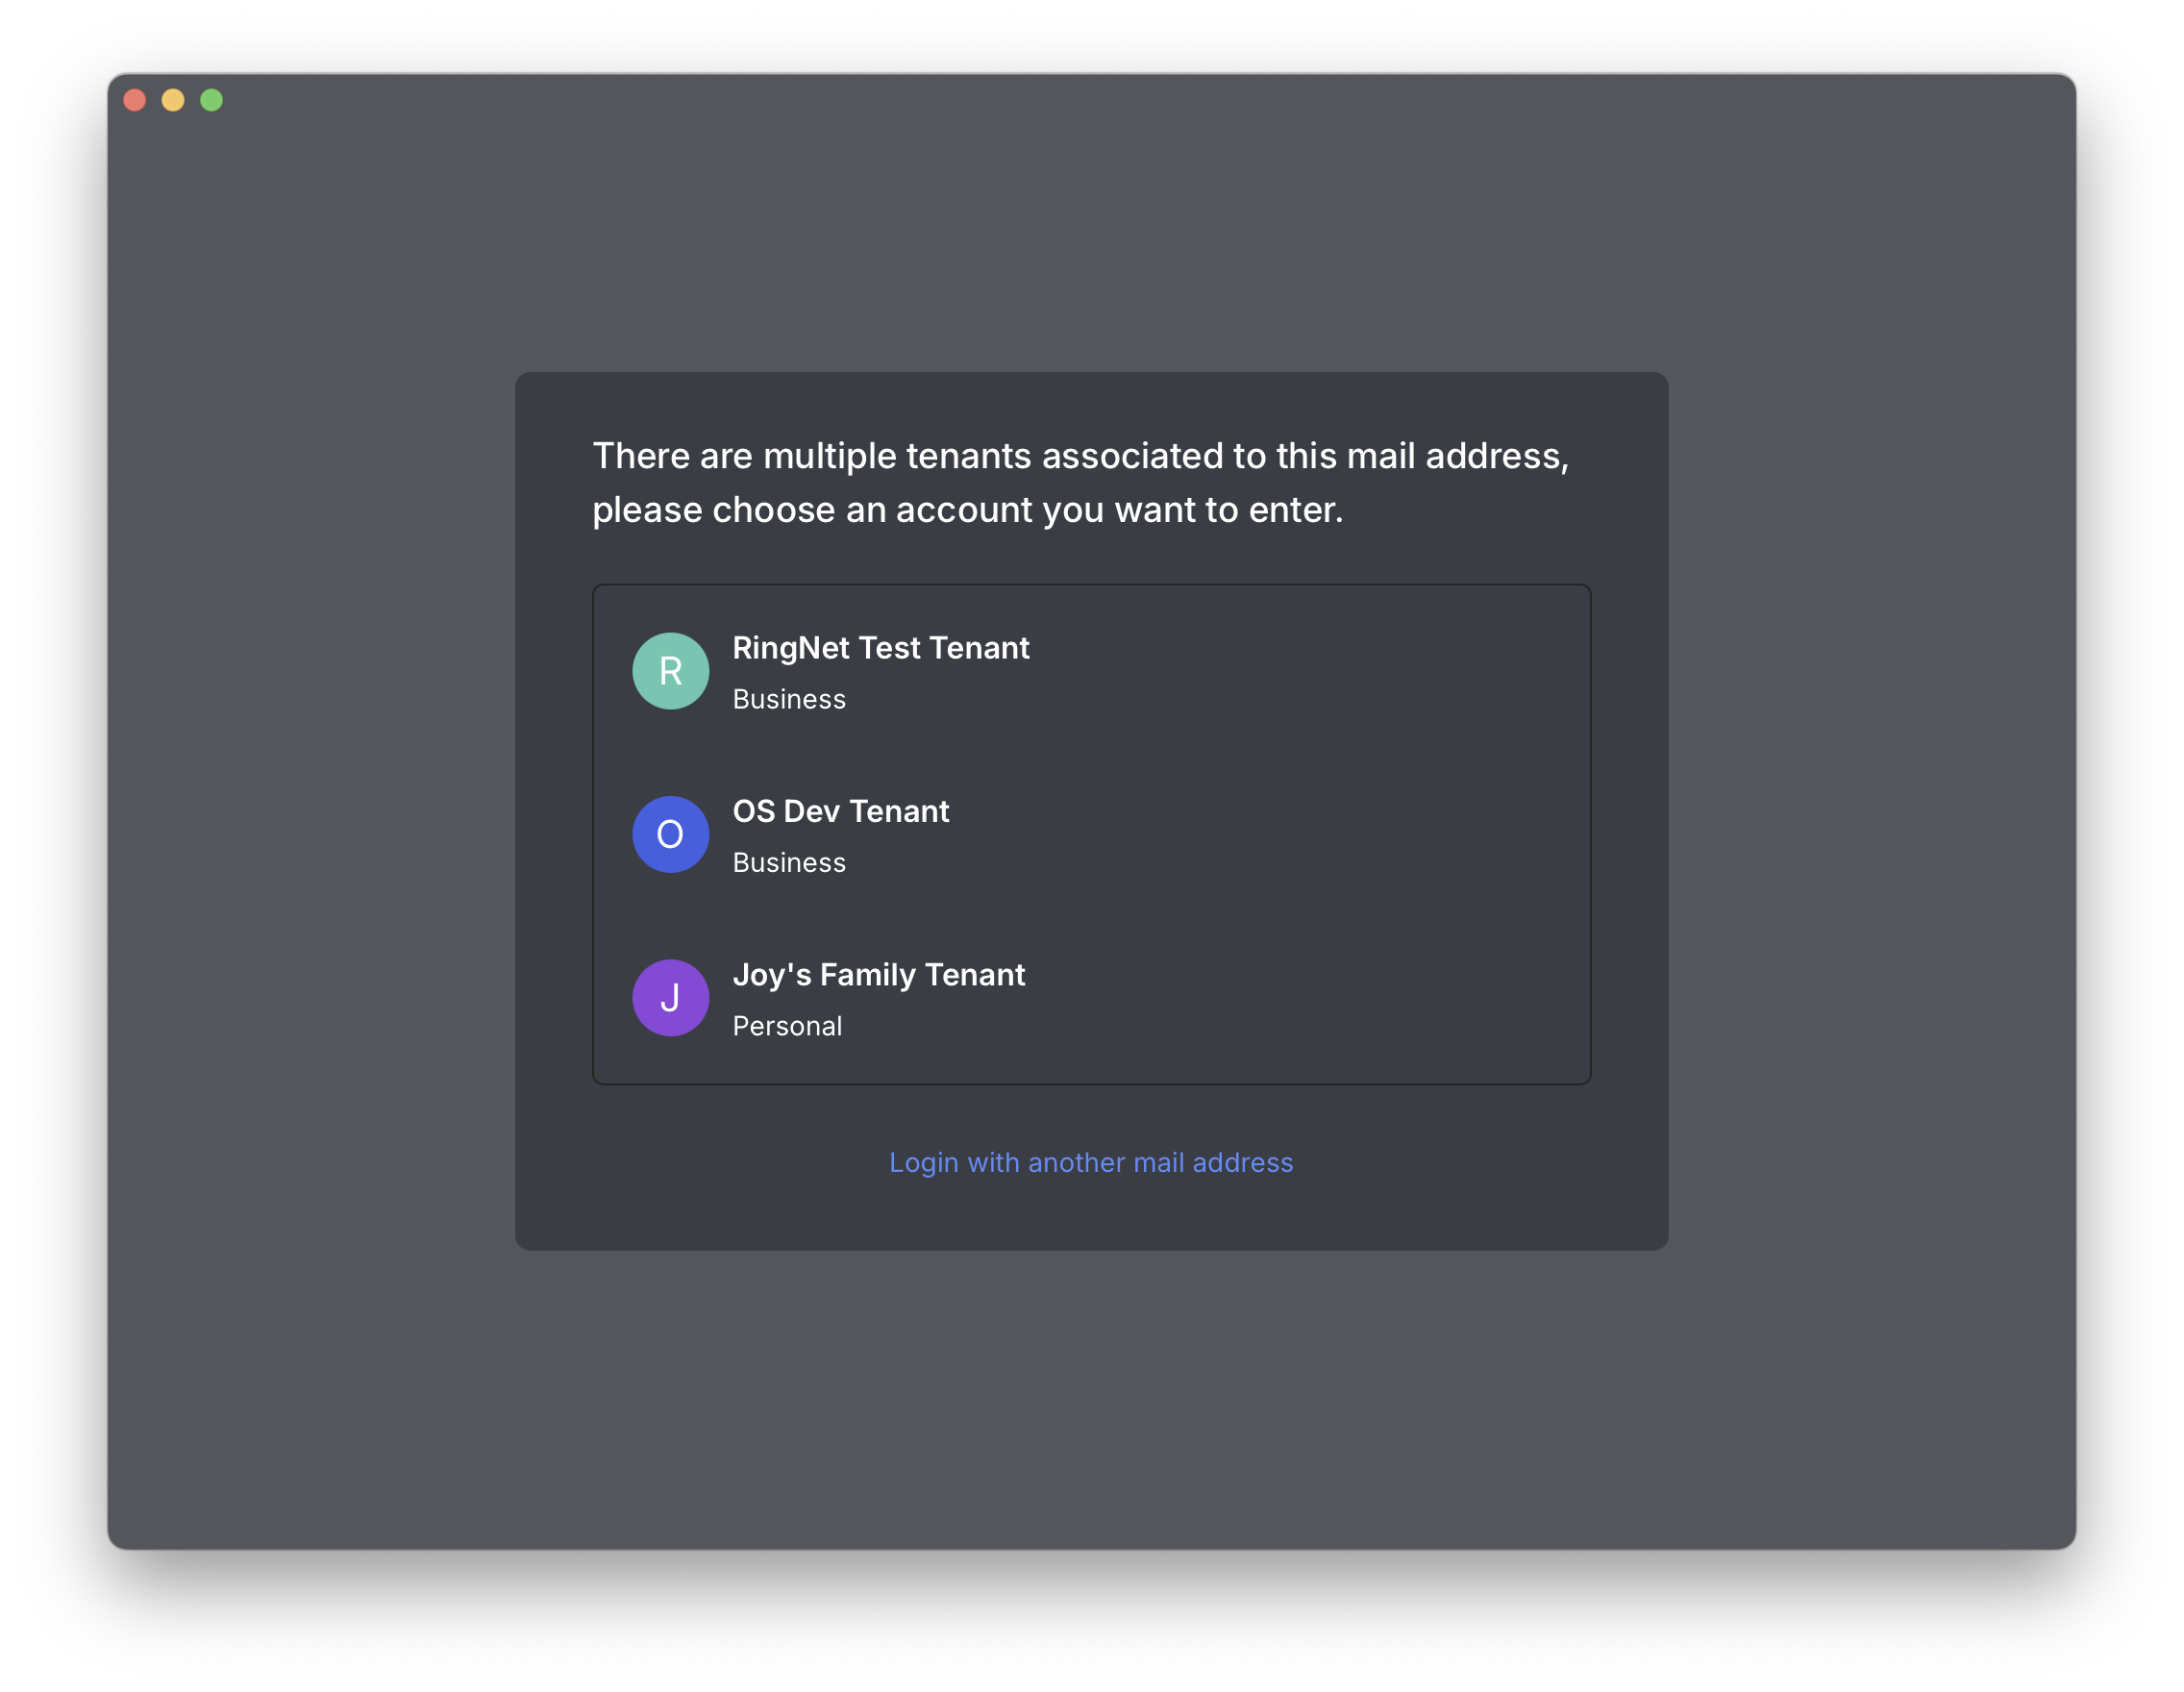
Select the tenant (organization) you want to use.
-
If your account is associated with only one tenant, it will be selected automatically.
Step 3: Navigate to Networks
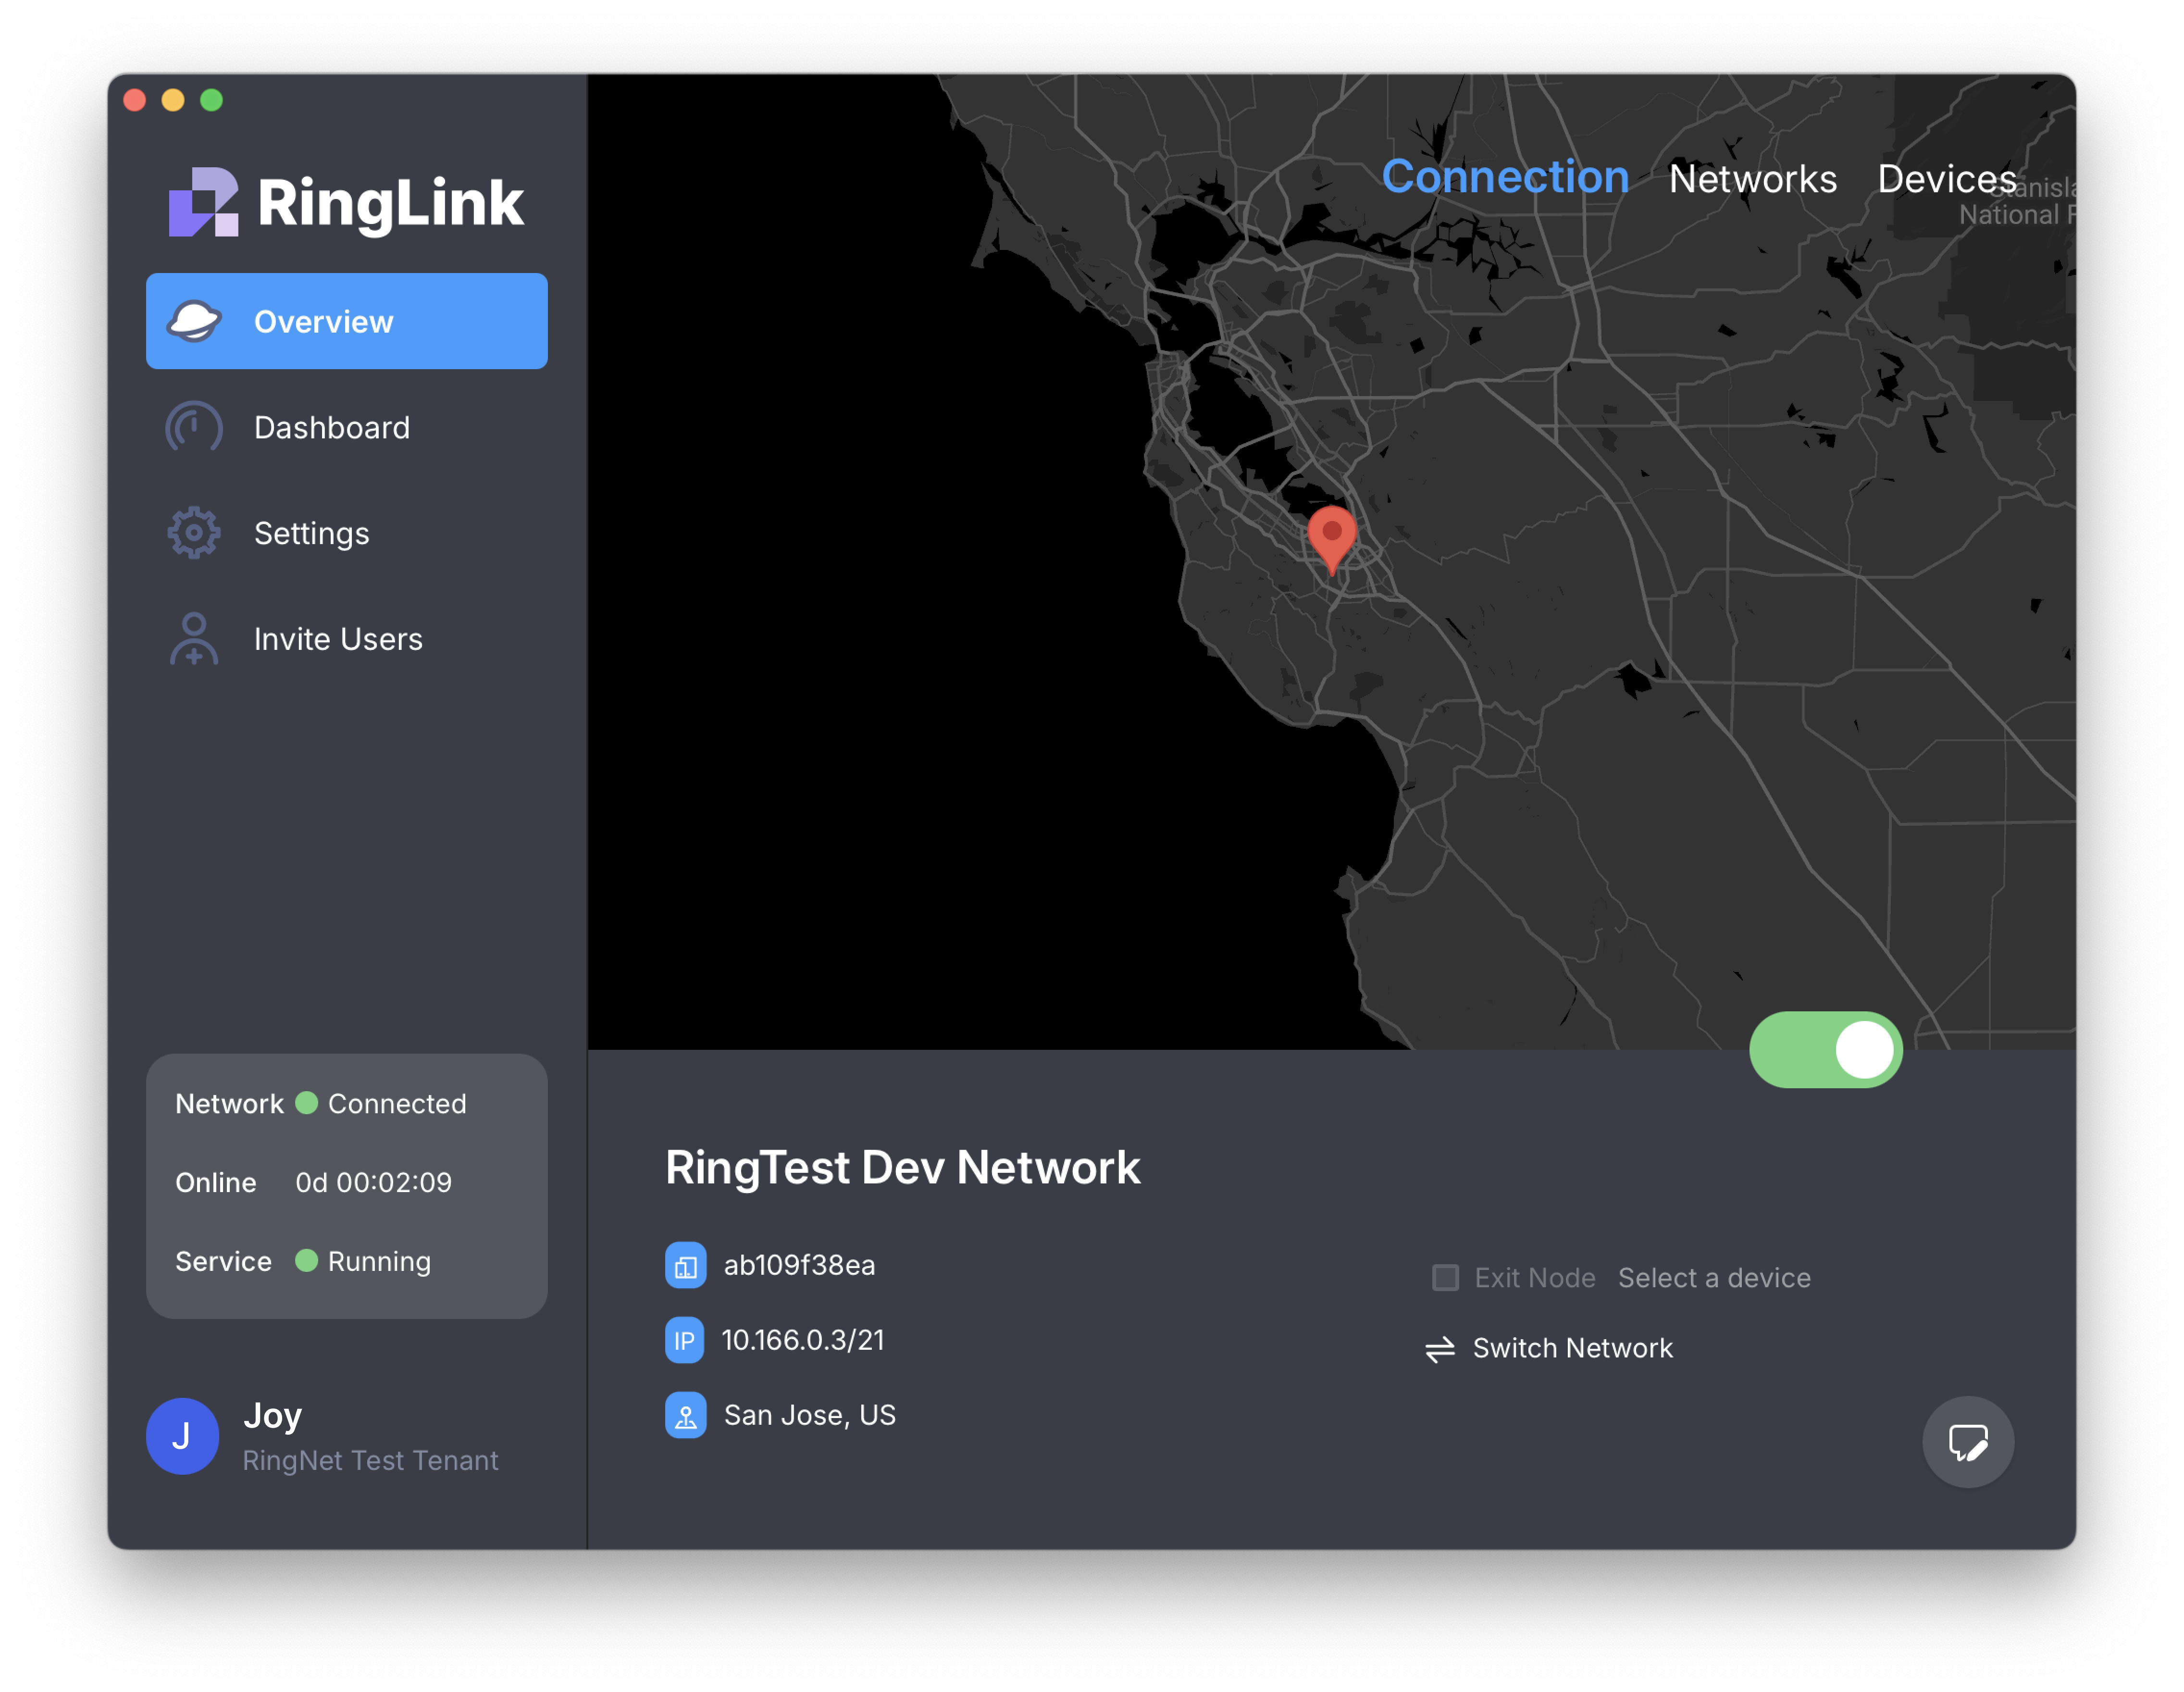
Once logged in, you’ll see three tabs at the top of the application: Connections, Networks, and Devices.
-
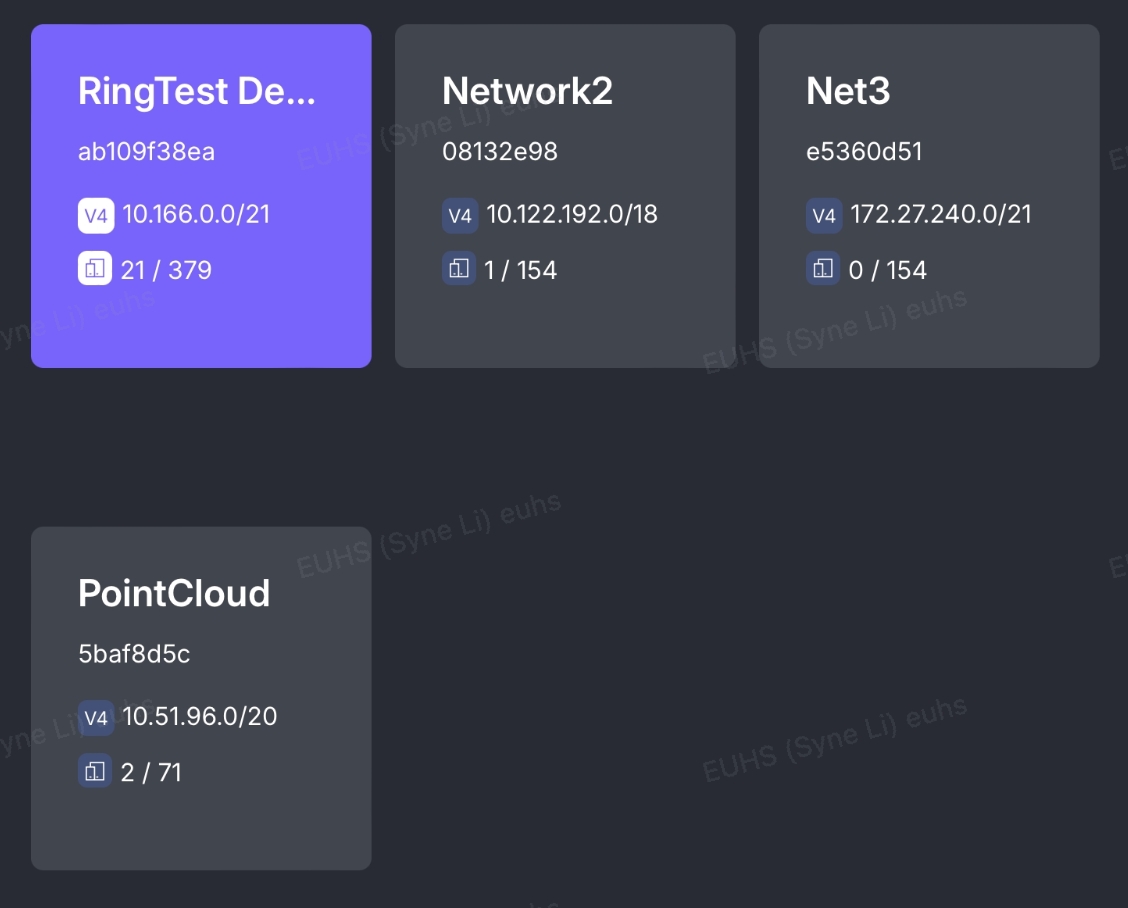
Go to the Networks tab to view available networks.
-
Select a network you want to connect to. The application will remember your previous selections.
Step 4: Connect to a Network
-
Navigate to the Connections tab.
-
Click the Connect button to establish a connection. Enjoy the secure and seamless experience of RingLink!
Step 5: Use an Exit Node (Optional)
If you want to use a pre-configured Exit Node:
-
After connecting to a network, navigate back to the Networks tab.
-
Select Select a device under the Exit Node section.
-
Choose the device that has been configured as an Exit Node by clicking the checkbox next to it.
-
A warning will appear, informing you that changing the Exit Node might affect your network. Click OK to confirm.
-
Wait for 3–5 seconds. Your Exit Node will be successfully configured!