Configure an Exit Node to Secure Your Team's Internet
This guide provides a step-by-step walkthrough for configuring an Exit Node in RingLink. Exit Nodes enable secure and centralized internet traffic routing for your team, ensuring better control and privacy.
The Exit Node gateway feature is currently supported on Linux operating systems. Once configured, the Exit Node can be utilized across all platforms.
Step-by-Step Instructions
Install the RingLink Client and Connect to Your Network
Ensure the RingLink client is installed and connected to your network before proceeding. Need Help? If you haven’t installed the client yet, check out the guide: Install RingLink on Linux.
Enable IP Forwarding
Enable IP forwarding on your Linux device by following these steps:
For IPv4 Run the following commands in your terminal:
- If your system has a
/etc/sysctl.ddirectory
echo 'net.ipv4.ip_forward = 1' | sudo tee -a /etc/sysctl.d/99-ringlink.conf
sudo sysctl -p /etc/sysctl.d/99-ringlink.conf- Otherwise
echo 'net.ipv4.ip_forward = 1' | sudo tee -a /etc/sysctl.conf
sudo sysctl -p /etc/sysctl.confEnable Exit Node Mode
Run the following command in your terminal to enable Exit Node mode on your device:
ringlink-cli set cap --exit-node=trueFinalize Exit Node Configuration on the RingLink Dashboard
Once the Exit Node gateway is enabled on your Linux device, complete the setup on the RingLink Dashboard:
- Log in to the RingLink Dashboard
- Locate the Linux device you just configured.

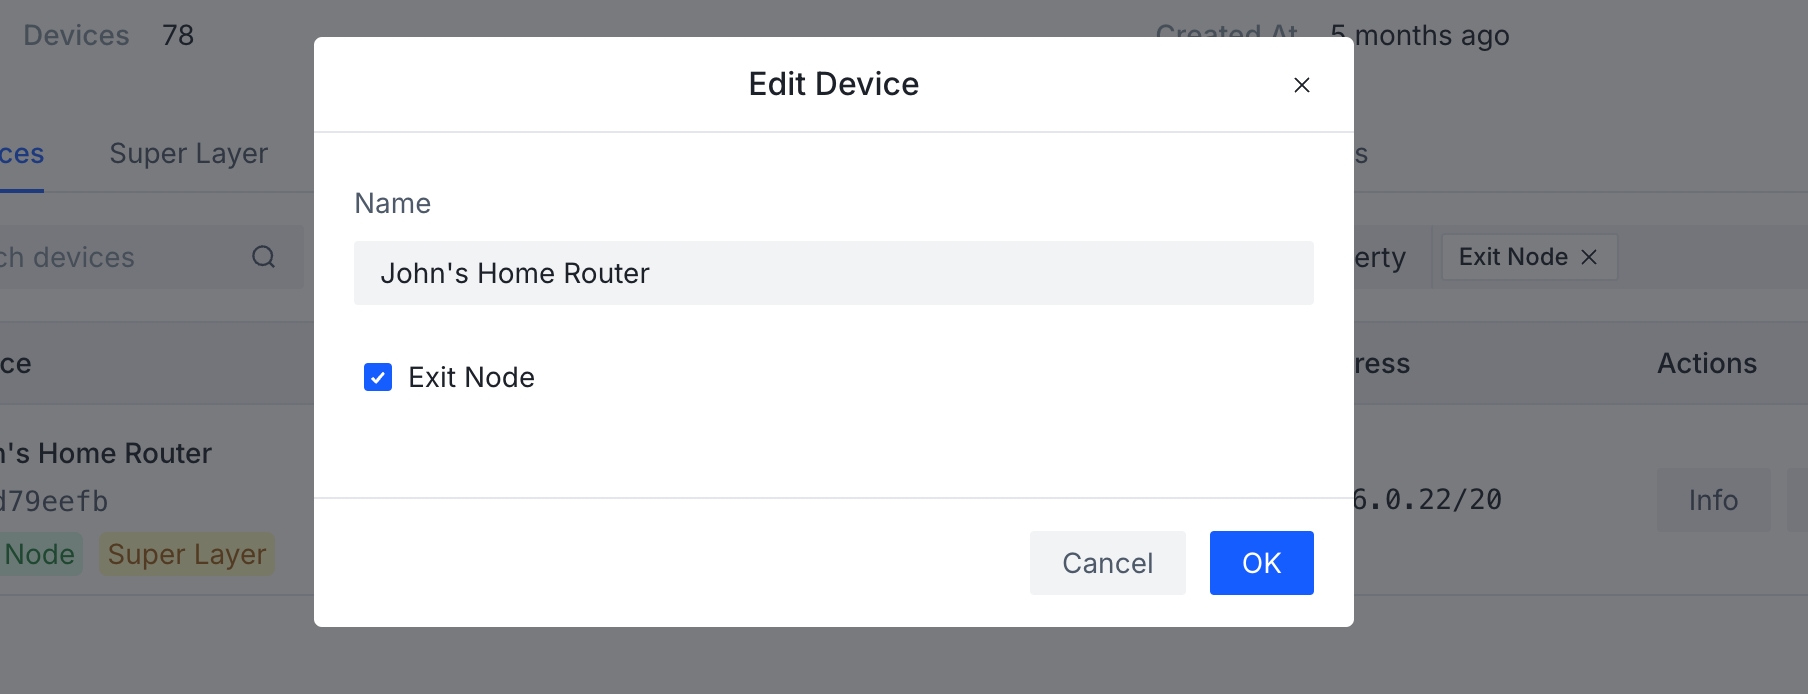
- Click Edit, then select the Exit Node checkbox to enable the feature.

- Click OK to save your changes.
- Refresh the Dashboard, and you'll see a green Exit Node tag next to the device, indicating that the Exit Node has been successfully configured.